Your very own Snapchat filter! How cool would that be?
Snapchat Geofilters are location-based overlays for your Snapchat pictures that let people know where and what you’re doing. Snapchat now allows users from USA, Canada, UAE, Saudi, Australia, UK, and Brazil to create their own Geofilter designs for personal agendas like birthdays, weddings, baby showers, etc.
How to make a Snapchat Geofilter?
SwipeStudio is a DIY Geofilter Maker that lets you create stunning Snapchat filters for every occasion. With just a few simple steps you can create your very own Snapchat Geofilter (in just a matter of minutes). It couldn’t get easier than this!
Step 1: Pick a Template
From baby showers to birthdays and weddings to anniversary SwipeStudio has a template for every occasion. Scroll through the various categories and pick one that suits you the best. The template then appears on the canvas which is on the right-hand side of the page.
Step 2: Customize
Once you’ve selected your template, you can customize your Geofilter. You can find all the available options on the left-hand side of the canvas.
Click Add Text to personalize your design with your own custom text. SwipeStudio offers a bunch of preset fonts so that you don’t have to spend time styling them yourself. For people who like to craft their own style, there is an option to start with the base font, and then manually edit the color, font, size, and rotation to their liking.
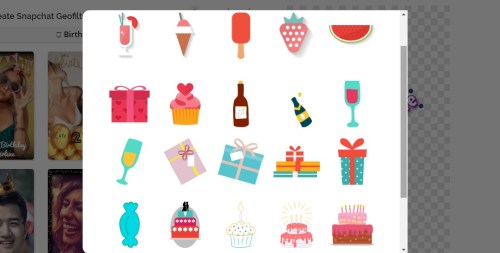
You can spice up your Geofilter by adding graphics. SwipeStudio offers over 10,000 graphics elements to choose from. You can switch up the size and alignment as per your preference. If you want to remove a graphic, simply click on the graphic and then click the remove button in the toolbar.

Another way of customizing your Geofilter could be by using Bitmoji. A brief step by step instruction pops up on the screen when you click on to the Bitmoji tool. If you need a detailed instruction, please read this article on how to use Bitmoji: https://medium.com/snapstudio/how-to-add-bitmoji-to-your-custom-geofilter-d675d4e989bc
(Note: Bitmoji is only available on the desktop version)
Once your done editing, make sure to preview your Geofilter to get a feel for how the filter will look over the pictures you click.
Step 3: Fill in the details
Final step!
Pick the location where you want the Geofilter to show up. Make sure you move the pin over the correct location and set the right venue size to create a geofence large enough for your event. Then choose how long you’d like to have the Geofilter for, along with a start date and time. As you pick your location and time, the submission calculator will tell you how much it’d cost to make the submission to Snapchat. Once you have picked the right venue and time, go ahead and submit it by making a payment!
And you are done! SwipeStudio will take care of the remaining stuff, so you can just sit back and relax! On the day of the event, you can access your very own Geofilter over your photos and videos. Get swiping.
If you have any questions, you can reach us at hello@swipestudio.co
Also published on Medium.


